

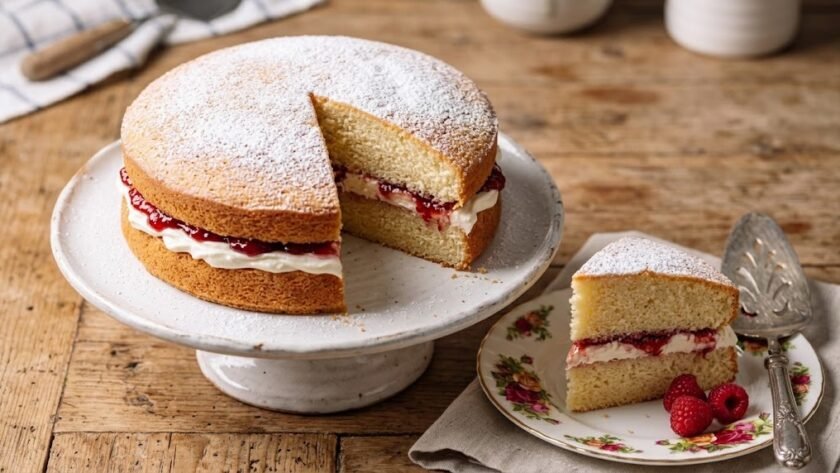
 Rosie Fielding
 There’s something reassuring about a cake that asks so little of you. Three ingredients, no butter to soften, no oil to measure — just eggs, sugar and flour, whisked and folded into something that rises almost entirely on air. This is the fatless sponge, a recipe Delia Smith has long championed as proof that a proper British sponge doesn’t need fat to earn its lightness.
If you’ve only ever made a Victoria sponge with creamed butter and sugar, a fatless sponge feels like a different animal.
It’s softer, springier, and slightly more delicate to handle, but it also has a cleaner, less rich flavour that makes it a natural base for trifles, fruit-filled gateaux, or a simple jam and cream sandwich cake.
What Makes a Fatless Sponge Different
A standard sponge cake gets its structure from creamed butter and sugar, with the fat coating the flour’s gluten strands and keeping the crumb tender.
A fatless sponge has none of that to fall back on. Instead, all of the lift and structure comes from whisked eggs.
When eggs and sugar are whisked for long enough, tiny air bubbles become trapped in the egg proteins. Those bubbles expand in the oven’s heat, and the egg proteins set around them, holding the cake’s shape.
It’s the same principle behind a Swiss roll or a classic genoise, and it’s why the whisking stage matters so much more here than in a creamed cake — skimp on it, and there simply isn’t enough trapped air to carry the sponge.
The trade-off is that a fatless sponge doesn’t keep as well as a butter-based one, since there’s no fat to slow down staling.
In return, you get a cake that’s noticeably lighter, with a delicate, springy crumb that soaks up syrups, jam and cream beautifully.
Ingredients and Their Purpose
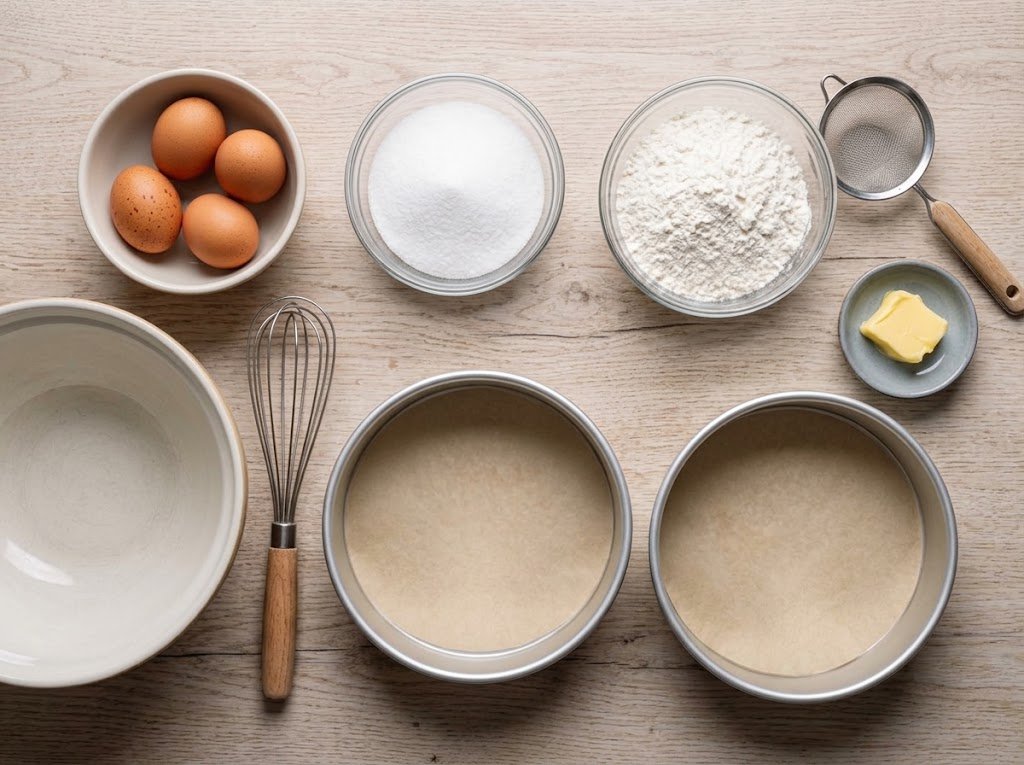
- 4 large eggs – the entire structure of the cake depends on how much air you can whisk into these, so use eggs at room temperature; they whisk to a greater volume than cold eggs straight from the fridge.
- 100g caster sugar – caster sugar dissolves more readily than granulated, which helps the eggs whisk up smoothly rather than staying grainy. It also sweetens the cake and helps stabilise the foam.
- 100g plain flour – plain flour, sifted at least once (twice is better), gives the cake its structure without weighing down the whisked eggs. Using self-raising flour isn’t traditional here, since the whole point of the method is that the eggs alone provide the lift.
- A little butter and flour for the tins – strictly for greasing and dusting, not for the batter itself, so the fatless principle isn’t broken by the tin preparation.
Some versions call for a tablespoon of warm water, whisked in with the flour, which loosens the batter slightly and makes it easier to fold without knocking out air.
Equipment You’ll Need
Nothing unusual is required, but a few things make the process easier:
- Two 18–20cm sandwich tins, greased and base-lined with baking parchment
- A large heatproof mixing bowl that can sit over a saucepan without touching the water
- An electric hand whisk or a stand mixer, since whisking by hand to the right volume takes a long time and a fair amount of arm strength
As an Amazon Associate, I earn from qualifying purchases.
Step-by-Step Method to make Delia Smith fatless sponge cake
1. Prepare the tins and oven. Preheat the oven to around 180°C (160°C fan)/gas mark 4. Grease two sandwich tins, line the bases with a disc of baking parchment, then dust lightly with flour, tapping out the excess. This belt-and-braces approach matters more here than with a buttery cake, since a fatless sponge has a tendency to stick without fat in the batter to help it release.
2. Whisk the eggs and sugar over heat. Break the eggs into your large heatproof bowl and add the caster sugar. Set the bowl over a pan of gently simmering water, making sure the base of the bowl doesn’t touch the water, and start whisking. This gentle heat helps the sugar dissolve and speeds up how quickly the mixture gains volume.
3. Whisk until thick, pale and tripled in volume. Keep whisking until the mixture is thick, mousse-like and pale. You’ll know it’s ready when it leaves a distinct trail on the surface when you lift the whisk — the “ribbon stage.” This can take five to ten minutes with an electric whisk, so don’t rush it; this stage does almost all the work of the recipe.
4. Remove from the heat and continue whisking. Take the bowl off the pan and keep whisking for another minute or two, until the bowl feels cool to the touch. Whisking off the heat like this helps stabilise the foam so it holds its volume while you fold in the flour.
5. Sift and fold in the flour. Sift the flour over the mixture in two or three additions, folding gently with a large metal spoon each time. Use a light, cutting motion rather than stirring, working from the bottom of the bowl up and over. The aim is to just combine the flour without deflating the air you’ve worked so hard to whisk in.
6. Divide and bake. Pour the mixture evenly between the two prepared tins, tilting them gently to level the surface rather than smoothing it with a spoon, which knocks out air. Bake for 20–25 minutes, until golden, well risen, and springy to a light press in the centre.
7. Cool and turn out. Leave the sponges in their tins for a couple of minutes, then run a palette knife around the edges and turn them out onto a wire rack. Peel away the parchment and leave to cool completely before filling — a warm sponge will melt any cream filling and make the layers slide.
8. Fill and finish. Spread jam generously over one sponge, add whipped cream if you’re using it, and sandwich with the second layer. A light dusting of icing sugar on top is the traditional finish, simple and unfussy, in keeping with the cake itself.
Filling Ideas for Your Fatless Sponge
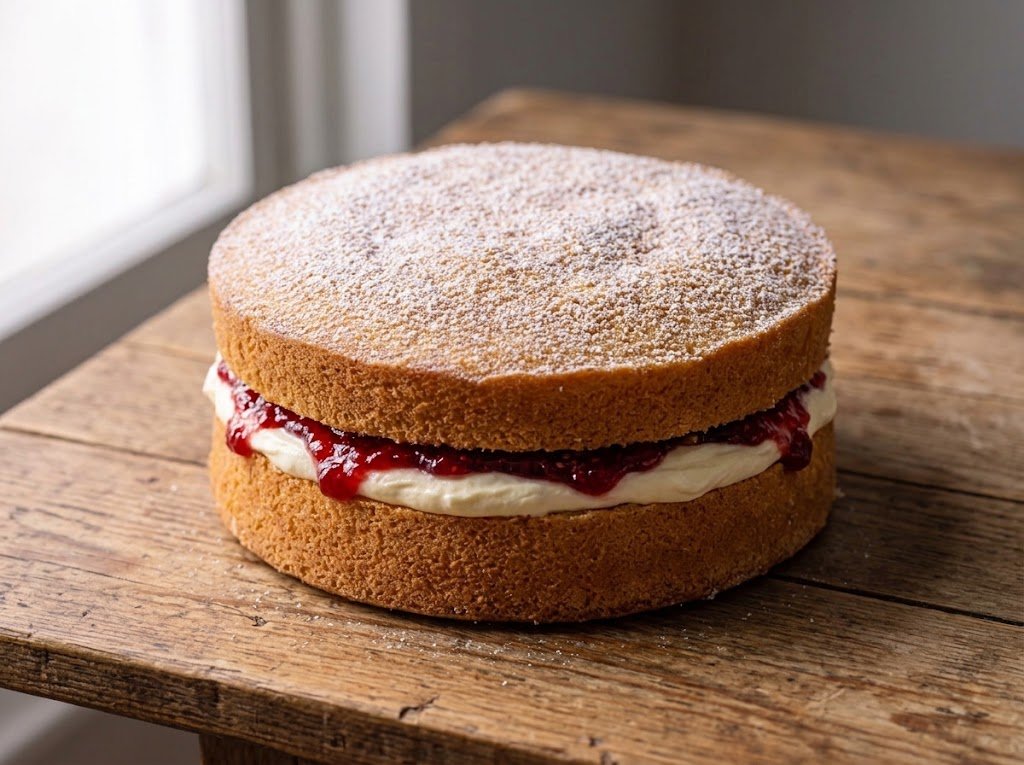
- Classic jam and cream – raspberry or strawberry jam with lightly whipped double cream is the traditional combination, and it suits the sponge’s delicate flavour perfectly.
- Lemon curd and mascarpone – swap cream for mascarpone folded with a spoonful of lemon curd for a slightly tangy, richer filling.
- Fresh berries and cream – sliced strawberries or whole raspberries layered with whipped cream make a lighter, fruit-forward option, especially in summer.
- Chocolate ganache – a thin layer of ganache works well if you’ve made the cocoa variation, giving a more indulgent finish without overwhelming the light crumb.
- Buttercream – not traditional, but a light vanilla or fruit buttercream adds extra sweetness and richness if you want something closer to a celebration cake.
- Fruit compote – a spoonful of stewed apple, plum or berry compote adds moisture and a slightly tart contrast to the sponge’s sweetness.
Cooking Tips for a Better Sponge
- Don’t rush the whisking stage. This is the single most common reason a fatless sponge falls flat. The mixture genuinely needs to triple in volume and turn pale and mousse-like before you move on; a mixture that’s merely “a bit fluffy” won’t hold enough air to rise properly.
- Fold, don’t stir. Once the flour goes in, every extra stir knocks out more of the air you’ve built up. Aim for the minimum number of folds needed to combine everything, and stop as soon as you can’t see streaks of flour.
- Keep the oven door shut. Opening the oven early lets cold air in and can cause the sponge to sink before the structure has set. Resist checking until at least 18 minutes in.
- Use room-temperature eggs. Cold eggs are noticeably harder to whisk to full volume, so take them out of the fridge well ahead of time.
- Weigh, don’t estimate. Because there’s no fat to fall back on for structure, this is a recipe where accurate quantities genuinely matter more than in a forgiving butter cake.
Common Mistakes and How to Avoid Them
The sponge sinks in the middle. Usually caused by underwhisked eggs, an oven door opened too soon, or taking the cake out before it’s fully baked. Test doneness by pressing gently in the centre — it should spring back rather than leave an indent.
The texture is rubbery or tough. This almost always comes down to overfolding once the flour is added, which develops the gluten in the flour and knocks out air at the same time. Fold gently and stop as soon as the flour disappears.
The cake sticks to the tin. Because there’s no fat in the batter itself to help with release, the tin preparation needs to be thorough — grease, line with parchment, and dust with a little flour for the best chance of a clean turnout.
The layers are uneven. Weigh the mixture as you divide it between tins if you want perfectly matched layers, since it’s easy to misjudge by eye, especially with a light, airy batter.
Variations and Substitutions
Chocolate fatless sponge: replace a spoonful of the flour with cocoa powder, sifted in with the rest, for a chocolate version.
Lemon or orange fatless sponge: whisk the finely grated zest of a lemon or orange into the eggs and sugar before folding in the flour, then fill with lemon curd and cream for a brighter finish.
Swiss roll: spread the batter thinly on a lined Swiss roll tin and bake for a shorter time, around 10 minutes, then roll it up with jam while still warm.
Gluten-free version: a good-quality gluten-free plain flour blend can be substituted, sifted twice to keep the mixture as light as possible; the result will be slightly denser but still works well.
Trifle base: cut the sponge into cubes or fingers as the base layer of a traditional trifle, where its light, absorbent texture is ideal for soaking up sherry or fruit juice.
How to Serve Fatless Sponge
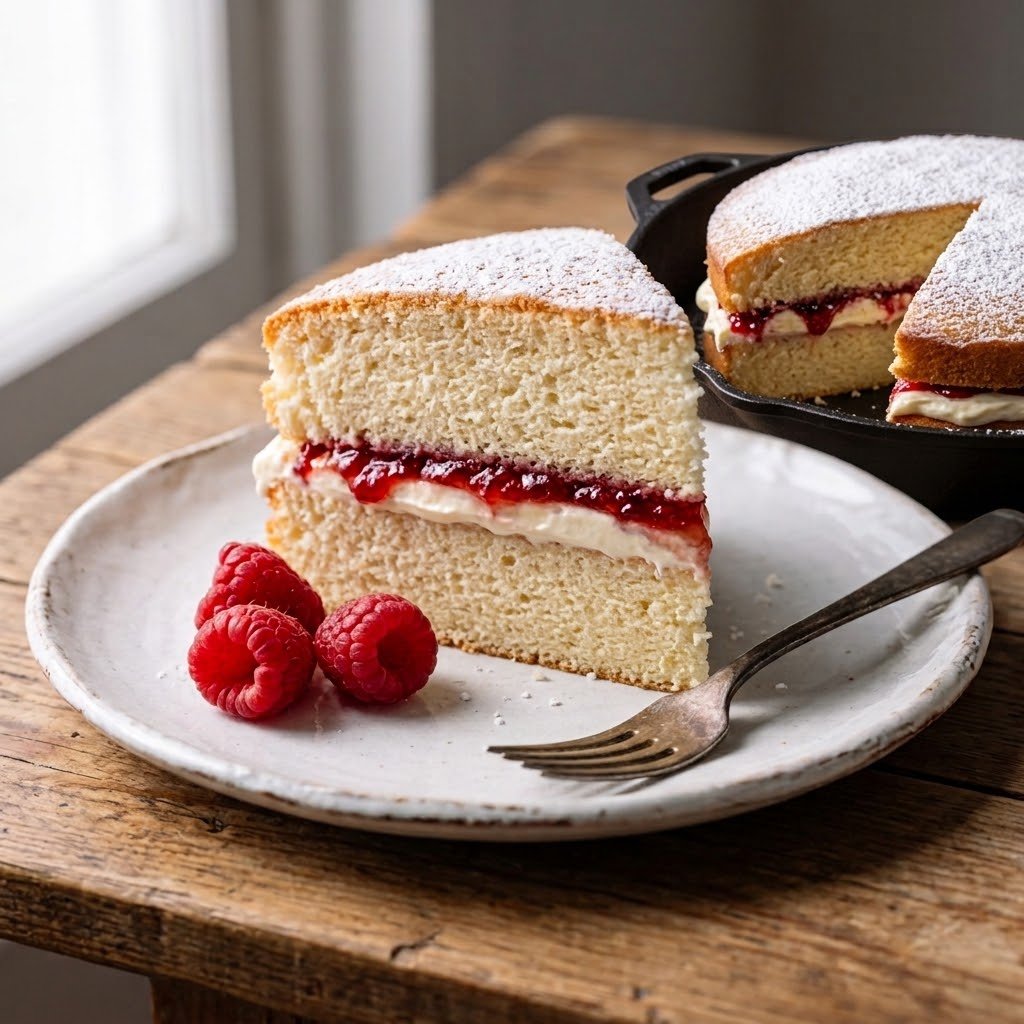
The simplest option is to sandwich the two cakes with raspberry or strawberry jam and lightly whipped cream. A dusting of icing sugar is all you need on top.
For a fruit-filled version, add sliced strawberries or fresh raspberries to the cream. Keep the filling reasonably restrained; a very heavy layer can overwhelm such a delicate sponge.
Lemon curd is another excellent pairing. Its sharpness balances the sweetness of the cake and gives the plain sponge plenty of character.
You can also use the sponge as a base for a trifle. Cut the cooled cake into pieces and layer it with fruit, custard and cream. Its relatively open crumb makes it particularly good at absorbing flavoured liquids.
Fatless sponge is also commonly associated with rolled cakes and Swiss rolls because of its useful light texture.
Storage
A fatless sponge is best eaten within a day or two of baking, since the lack of fat means it dries out faster than a Victoria sponge.
Once filled, keep it in the fridge if you’ve used cream, and bring it back to room temperature before serving so the texture isn’t stiffened by the cold.
Unfilled sponge layers freeze well. Wrap each one tightly in cling film once completely cool, and they’ll keep in the freezer for a couple of months.
Make-Ahead Advice
If you’re planning ahead for a party, bake and freeze the plain sponge layers a few days or weeks in advance, then defrost and fill on the day you need them.
This works far better than assembling a filled sponge too early, since the cream and jam won’t keep as well once combined, and the sponge is at its best texture within a day of baking.
Nutrition Facts
Approximate values per slice, based on a cake cut into 8 slices (plain sponge, unfilled):
- Calories: 120–140 kcal
- Protein: 4g
- Carbohydrates: 24g
- Sugars: 14g
- Fat: 2g
- Saturates: 0.5g
These figures will rise once the cake is filled — a jam and cream filling typically adds another 60–90 kcal and 6–8g of fat per slice, depending on how generously it’s spread. Exact values will vary depending on egg size and the specific ingredients used.
Frequently Asked Questions
Is Delia Smith fatless sponge really fat-free?
It contains no added butter or oil in the sponge mixture, which is why it is described as fatless. However, eggs naturally contain fat, so “fatless” should not be interpreted as literally containing zero dietary fat.
Is a fatless sponge healthier?
It’s lower in fat and generally lower in calories than a traditional creamed sponge like a Victoria sandwich, since there’s no butter or oil in the batter. It still contains a fair amount of sugar, so “healthier” is relative — it’s a lighter option within the world of cake, rather than a health food.
Can I freeze a fatless sponge cake?
Yes, the plain, unfilled layers freeze well for up to two months. Wrap them tightly in cling film once fully cooled, then defrost at room temperature before filling. It’s best to freeze the sponge unfilled, since cream and jam don’t always freeze and thaw as neatly.
Can I make this without an electric whisk?
Yes, but it will take considerably longer and more effort by hand, since building enough air into the eggs is the whole basis of the recipe. If you’re whisking manually, expect it to take significantly longer than with an electric mixer.
Can I bake this as a single larger cake instead of two layers?
You can, using a single deep tin, though you’ll need to extend the baking time and check regularly with a skewer, since a thicker sponge takes longer to cook through than two thinner layers.
How do I know when the sponge is fully baked?
It should be golden on top, well risen, and spring back when pressed gently in the centre. A skewer inserted into the middle should come out clean, without any wet batter clinging to it.
Final Thoughts
A fatless sponge rewards a little care rather than a lot of skill. There’s no fussy technique to master, no long list of ingredients to source — just eggs, sugar and flour, and the patience to whisk properly before you fold.
Once you’ve made this 4 eggs fatless sponge cake a couple of times and get a feel for that thick, mousse-like stage the mixture needs to reach, it becomes one of the more forgiving cakes to bake regularly, and a genuinely useful one to have in your repertoire, whether it ends up as a simple jam sponge, a trifle base, or rolled into a Swiss roll.
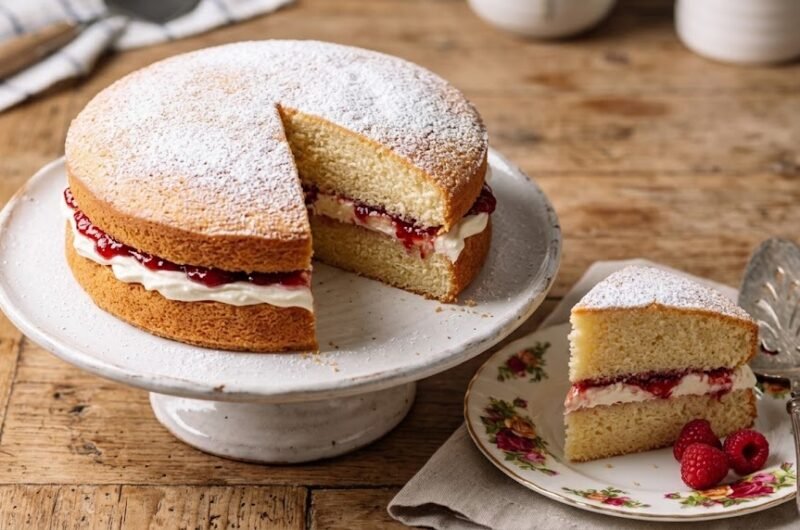
Delia Smith Fatless Sponge Recipe
Course: DessertCuisine: British8
servings20
minutes25
minutes120
kcal45
minutesA feather-light British sponge cake made without any butter or oil — just whisked eggs, sugar and flour give it lift. Soft, springy and delicately sweet, it’s the perfect base for jam and cream, or for layering into a trifle.
Ingredients
4 large eggs (room temperature)
100g caster sugar
100g plain flour, sifted
Butter and flour, for greasing and dusting the tins
3–4 tbsp jam, for filling
150ml double cream, whipped (optional)
Icing sugar, for dusting
Directions
- Preheat the oven to 180°C (160°C fan)/gas mark 4. Grease two 18–20cm sandwich tins, line the bases with parchment, and dust lightly with flour.
- Crack the eggs into a large heatproof bowl and add the caster sugar. Set the bowl over a pan of gently simmering water (not touching it) and whisk until thick, pale and roughly tripled in volume — about 5–10 minutes.
- Remove from the heat and whisk for another minute or two, until the bowl feels cool.
- Sift the flour over the mixture in two or three batches, folding in gently with a metal spoon each time.
- Divide the batter evenly between the tins and level by tilting, not smoothing.
- Bake for 20–25 minutes, until golden and springy to the touch.
- Cool in the tins for a couple of minutes, then turn out onto a wire rack and peel off the parchment. Cool completely.
- Spread jam over one sponge, add whipped cream if using, and sandwich with the second layer. Dust with icing sugar to serve.


[…] building a bigger dessert table, this cake sits comfortably next to lighter bakes such as this fatless sponge or a fruit-based dessert like pavlova, which offer a lighter contrast to the density of the fudge […]
[…] a filling for a classic Victoria-style fatless sponge, thumbprint biscuits, or Bakewell-style […]
[…] Delia has used across many of her sponge recipes, including her all-in-one chocolate fudge cake and fatless sponge , prized for being fast, forgiving and almost impossible to get […]